
Last updated November 20, 2026
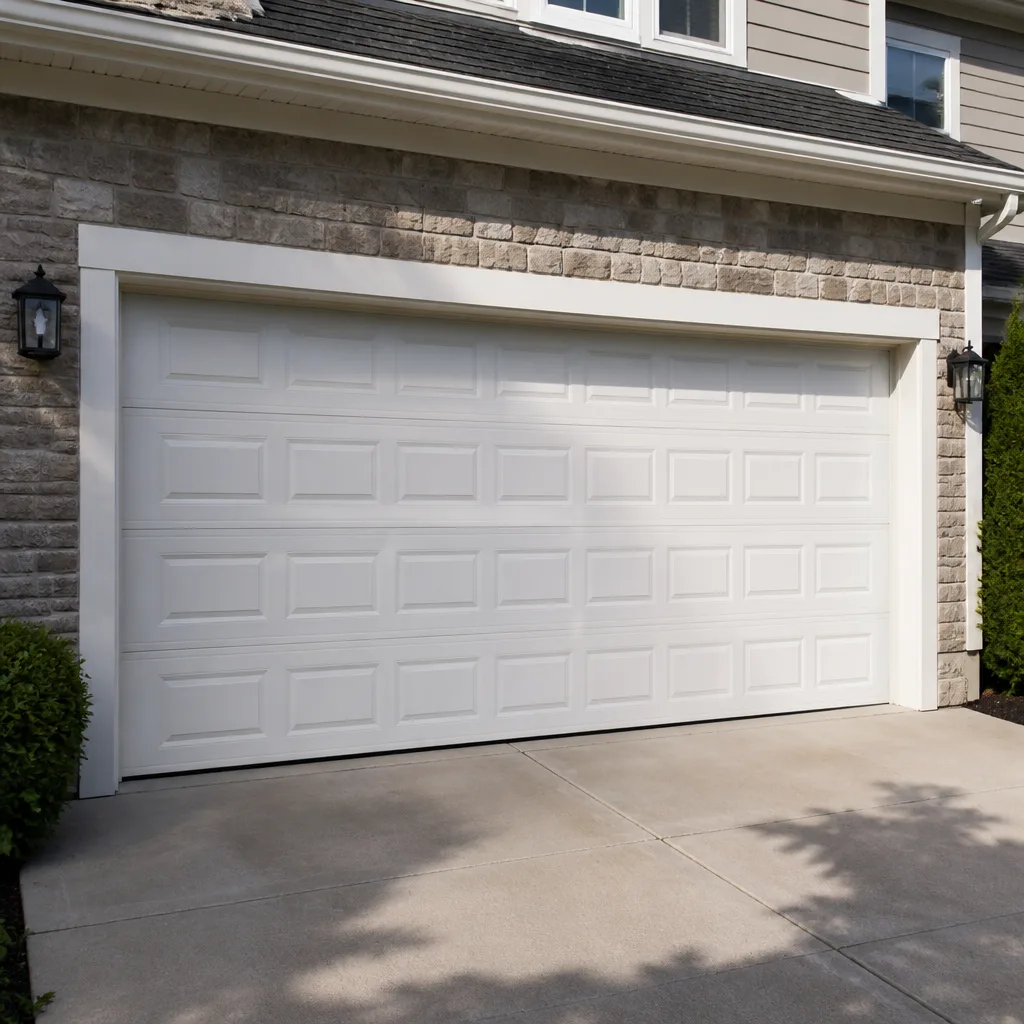 Raised-panel steel
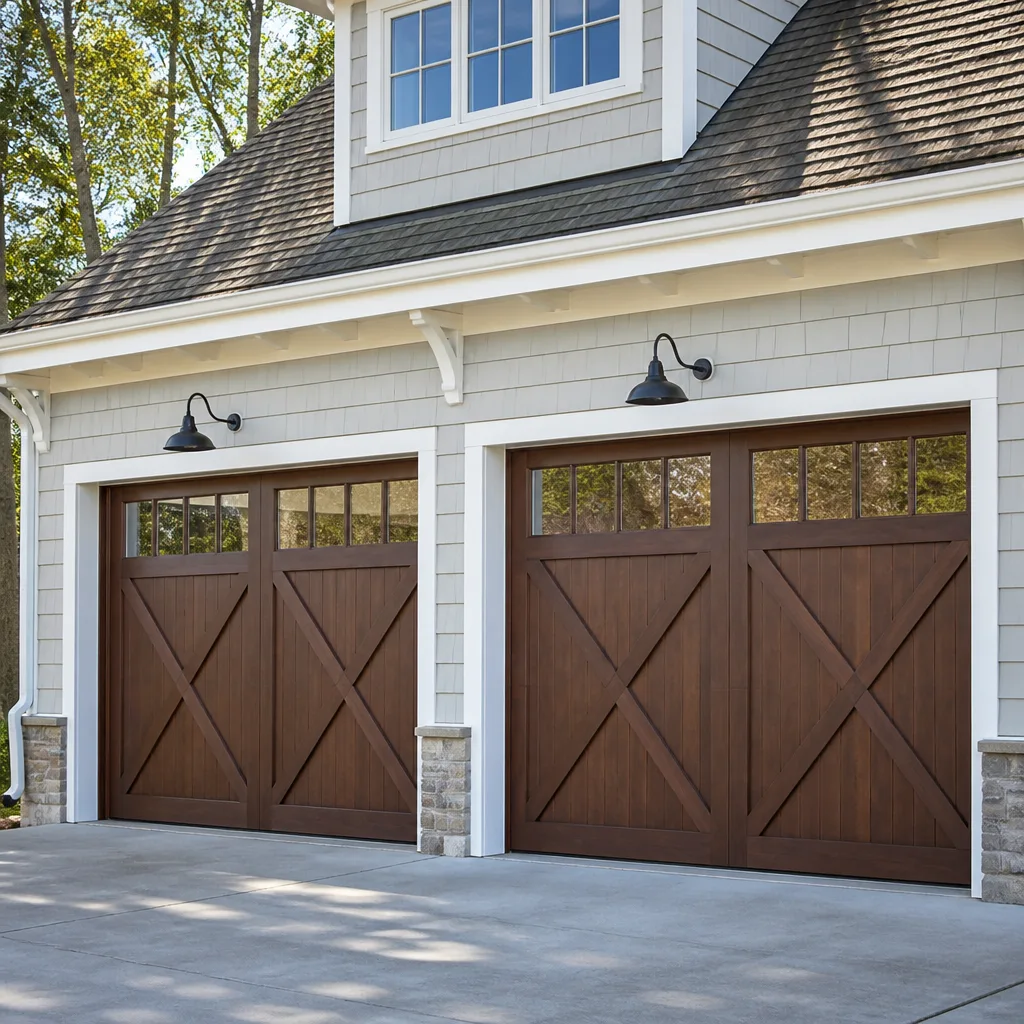 Carriage house
 Modern flush
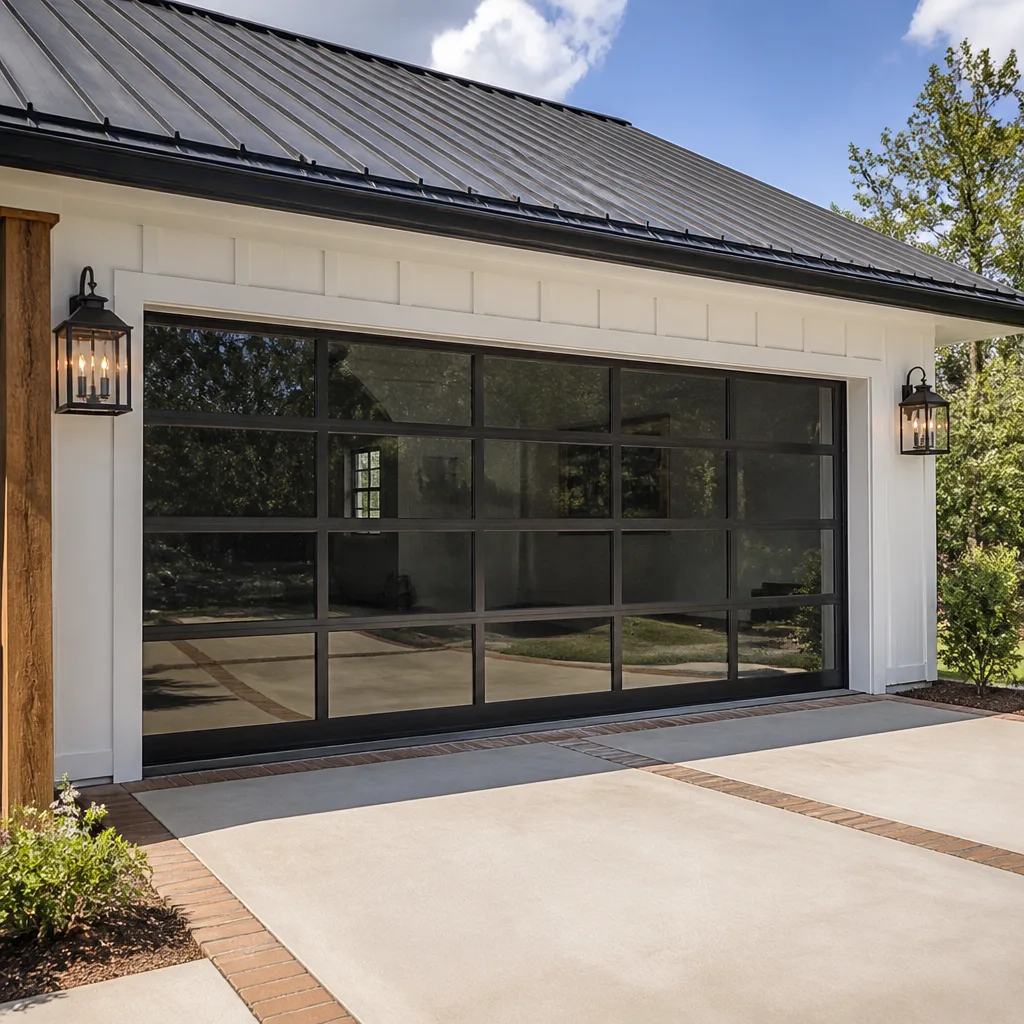 Full-view glass
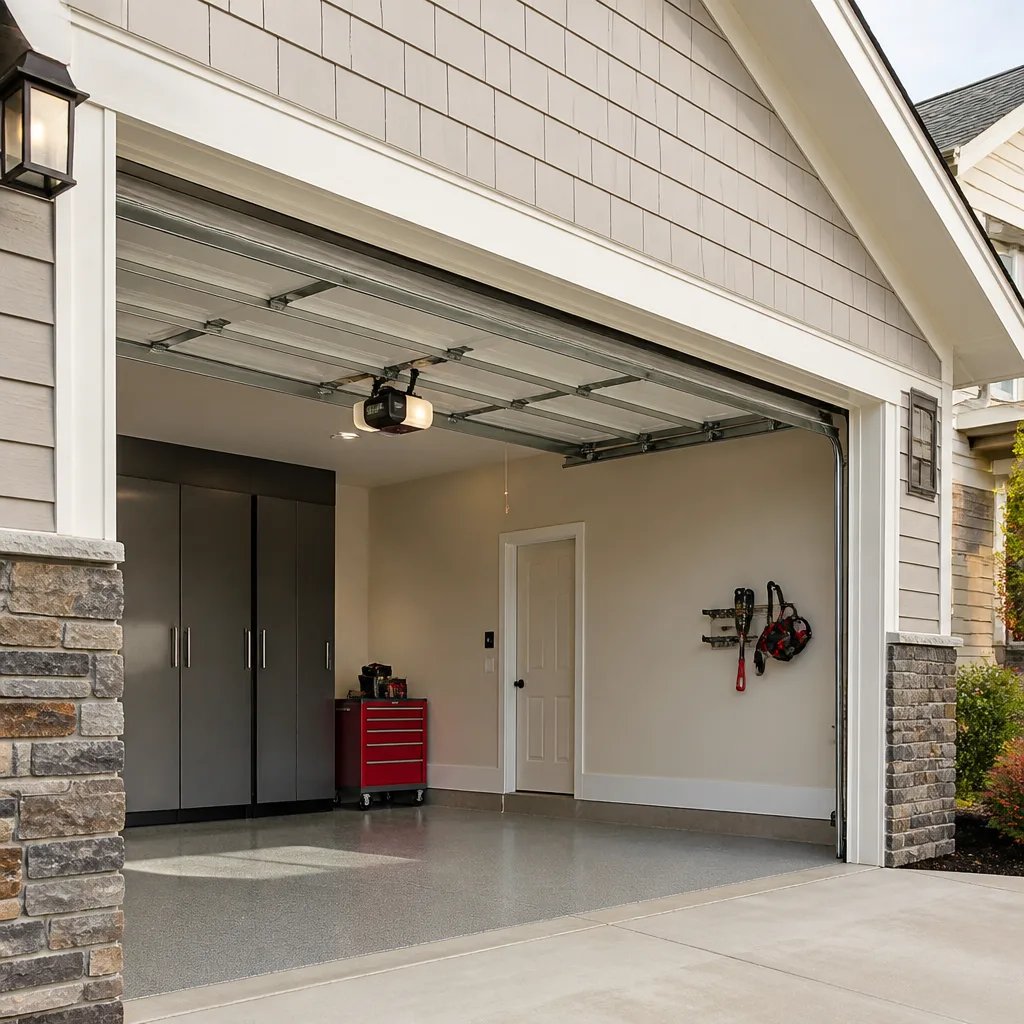 LiftMaster openers
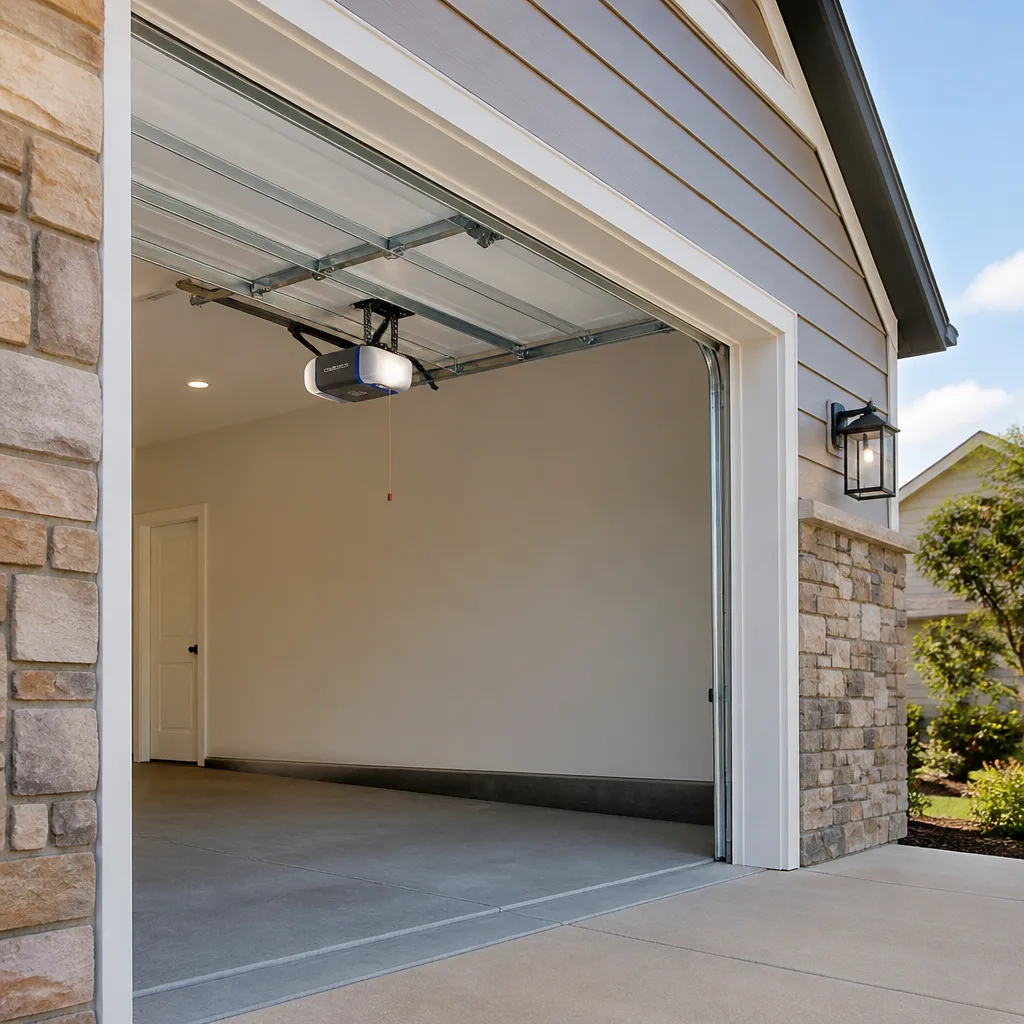 Chamberlain openers
Full 25-point door and opener safety check with every visit - springs, cables, rollers, tracks, and your LiftMaster or Chamberlain opener included
You get a price before we start. It does not change when the pro arrives.
Get your free estimateGarage Door Repair Maintenance Checklist for Waltham Homeowners
Most homeowners think a garage door either works or it doesn’t. In our experience, that’s the misconception that leads to the emergency calls we get from Waltham homes. Torsion spring failure is the single most common emergency call we get from Waltham homeowners, and in the majority of cases, there were audible and visual warnings the homeowner didn’t know to act on. A rattling door, a slightly sluggish opener, a bottom seal that doesn’t quite touch the floor in January – these are clues, not background noise.
This checklist walks you through a component-by-component inspection you can actually do yourself, with pass/fail criteria for a non-technician. You’ll learn exactly which lubricant goes on which part (and why WD-40 on your springs is a mistake), what Waltham winters do to your door hardware, and which tasks you should never attempt without a trained technician. Mention Waltham once more and we’re off: read this before the next cold snap hits.
Quick Answer
A garage door maintenance checklist for Waltham homeowners should cover the springs, cables, rollers, tracks, hinges, bottom seal, and opener every few months, with a deeper inspection before winter. The most important checks are spring condition, a correct auto-reverse test, and cleaning and lubricating the right components with the right product. Anything involving spring tension or cable tension is a professional task, not a DIY one.
Styles & brands we work with
- Raised-panel steel
- Carriage house
- Modern flush
- Full-view glass
- LiftMaster openers
- Chamberlain openers
Table of Contents
- The Component-by-Component Inspection Checklist
- Lubrication: The Right Product for Each Part
- Cold-Weather Checks for Waltham Winters
- How to Test Auto-Reverse and Force Settings Correctly
- DIY vs. Professional: What You Can and Can’t Do Yourself
- A Seasonal Maintenance Schedule That Works in Waltham
- Brand-Specific Notes: Clopay, Amarr, Wayne Dalton, and Others
The Component-by-Component Inspection Checklist
A good inspection takes about fifteen minutes and follows the same order every time, starting at the floor and working up. Do it with the door closed first, then open, and never put your hands anywhere near a spring, cable, or bracket under tension. Here’s the sequence we recommend.
- Bottom seal. Look at the rubber strip along the bottom edge. Pass: it compresses against the floor with no daylight visible from inside. Fail: you can see light under the door, or the rubber is cracked, stiff, or torn.
- Door panels. Pass: panels are straight, hinges are tight, and there’s no rust bubbling near the bottom. Fail: dents, cracks, or a panel that bows when you push gently.
- Rollers. Pass: rollers spin freely by hand and the nylon or steel wheels aren’t chipped. Fail: a roller that wobbles, grinds, or has flat spots.
- Hinges and brackets. Pass: tight and free of rust. Fail: loose bolts, bent hinge leaves, or visible cracks in any bracket.
- Tracks. Pass: straight and parallel, with even spacing on both sides. Fail: dents, kinks, or a gap between a track section and the frame.
- Cables. Pass: both cables are taut and sit cleanly in their drum grooves. Fail: any fraying, kink, or slack on one side. Stop here if you see damage – call a technician.
- Springs. Pass: no visible gap in a torsion spring, no stretched or sagging extension springs, and the door balances when you lift it halfway. Fail: any visible gap or a door that won’t hold position. Do not touch a spring yourself.
- Opener and safety sensors. Pass: the door reverses when the beam is broken and closes smoothly. Fail: blinking lights on the sensors, a door that jerks, or a remote that works only up close.
Write down the date and what you found. A simple note on the wall near the opener is enough. Waltham homeowners who track their inspections spot changes before they become failures.
Lubrication: The Right Product for Each Part
This is where most generic checklists fail you. “Lubricate moving parts” tells you nothing. The wrong product on the wrong part can actually shorten the life of your hardware. Here’s what goes where, and why.
A white lithium grease or a silicone-based spray is the right choice for rollers, hinges, and the torsion bar bearings. Apply a light coat, wipe off the excess, and don’t drown the parts. For the tracks, use a silicone spray and a clean rag – not grease, because grease attracts grit and grit grinds rollers. For the opener chain or screw drive, use the lubricant the opener manufacturer specifies for that model.
And now the important part: never put WD-40 on your torsion springs or cables. A lot of homeowners do, assuming it protects metal. It doesn’t. The standard WD-40 formula is a water-displacing solvent, not a long-term lubricant, and it leaves a thin film that attracts dust and moisture. On a spring, that accelerates corrosion rather than preventing it. On a cable, it can work grit into the strands. If you’re looking at a rusty spring in a Waltham garage after a wet spring, the fix is not a can of spray – it’s a technician who can tell you whether the spring has lost tension or is still within spec.
If you’re not sure which product belongs on which part, the safe move is to leave springs and cables alone entirely and ask during a repair visit. Our technicians have up to 15 years of experience and can tell you the condition of the springs in a few minutes, without touching the tension. That’s the whole point of the inspection.
Cold-Weather Checks for Waltham Winters
Waltham winters are hard on garage door hardware in ways that don’t show up in summer. The freeze-thaw cycle alone causes more door problems than most homeowners expect. Before the first hard frost, run through these checks.
- Bottom seal compression. Cold hardens rubber. A seal that looked fine in October may not press flush to the slab in January, letting in cold air and water. Push on the seal from inside and look for gaps.
- Track contraction. Metal tracks shrink slightly in cold weather and can pull away from their mounting brackets. Check that the track is still tight to the jamb and that the gap between the two side tracks is even all the way down.
- Opener sensitivity drift. Cold grease is thicker grease. An opener that closes smoothly in summer can start stalling in January. Test the auto-reverse and force settings as described below, before the first cold day.
- Roller and hinge condition. Plastic rollers get brittle in the cold. If a roller cracks on a sub-freezing day, the door can bind. Look for rollers that look pitted or dull.
- Weatherstripping along the sides and top. A cracked jamb seal lets in drafts and moisture. If it’s harder than a pencil eraser, it’s due.
A door that works fine in July can feel sluggish by February. That’s normal for older openers, but it’s also a signal that the door’s balance may have drifted. If the door feels heavier than it used to, the springs may have lost tension. That’s a job for garage door spring repair, not a lubrication fix.
How to Test Auto-Reverse and Force Settings Correctly
Most people know they should test auto-reverse. Almost nobody does it correctly. “Press the button and watch” isn’t a test – it’s a habit. Here’s the real sequence. Do it with the door closed and the opener disengaged, or with an assistant standing clear.
- The photo-eye test. Close the door using the wall button. While it’s closing, wave a long object (a broom handle) through the light beam at the sensors near the floor. The door should reverse immediately. If it doesn’t, the sensors are misaligned, dirty, or wired wrong.
- The force-sensor test. Open the door fully, then press the wall button to close it. As the door comes down, place a 2×4 flat on the floor under the middle of the door. The door should reverse on contact without squeezing the wood. If it pushes down on the 2×4 before reversing, the force setting is too high.
- The up-limit test. Watch the door open. It should stop with the bottom edge about at floor level on the open side, not slam into the header. If it bangs or stops short, the up-limit needs adjustment.
- The off-track test. With the door closed, look at both tracks from the side and confirm the rollers sit snugly in the channel. If a roller is riding high or out, the door is off balance.
Modern openers – including LiftMaster, Chamberlain, Genie, and Craftsman models – all have force and limit settings that need attention as the door ages. If you’re not sure which set screw or dial controls what on your opener, don’t guess. Call us or check the manual. A misadjusted force setting is a safety issue, not a minor annoyance.
DIY vs. Professional: What You Can and Can’t Do Yourself
Some of this checklist is genuinely for you. Some of it isn’t, and the line isn’t as obvious as it looks. Here’s the split we recommend to Waltham homeowners.
Safe to do yourself: visual inspection, wiping down tracks, lubricating rollers and hinges, tightening loose hand-tight bolts on hinges, replacing the bottom seal, checking sensors for dirt, testing the auto-reverse, cleaning the photo-eye lenses, and checking your opener’s manual for its battery and light bulb specifications.
Not safe to do yourself: anything involving torsion springs, extension springs, cables, drums, or the brackets that hold them. These parts are under high tension, and releasing or adjusting them without proper tools and training can cause serious injury. Same for replacing the opener motor or rewiring the safety sensors if the wiring is suspect. A torsion spring on a Waltham door can hold hundreds of pounds of stored force. It doesn’t care whether you’re careful.
If a spring or cable looks damaged, don’t try to “help” it. Call a technician. Panel replacement, opener troubleshooting beyond the manual’s basic steps, and any repair that involves the structural parts of the door are also best handled by a specialist. Our team does garage door repair for the door and hardware, garage door opener repair for the drive system, and spring work – one call covers the door, the opener, and the springs.
A Seasonal Maintenance Schedule That Works in Waltham
A calendar beats a to-do list. Here’s the schedule we suggest for a Waltham home, written around the local climate and the reality of how people actually use their garages.
- Every month: a two-minute visual check – springs look right, no new noises, sensors clean, door seals against the floor. Keep it quick.
- Every season change: a full fifteen-minute inspection following the sequence above. This is the one that catches problems early.
- Before winter (October): the cold-weather checklist – bottom seal, track contraction, opener sensitivity, roller condition, weatherstripping. This is the most important one for a Waltham home, because January is when most door failures show up.
- After winter (April): inspect for winter damage – rust on hinges, cracked seals, a spring that lost tension over the cold months, and a door that no longer balances in the halfway position.
- Once a year, or when the door starts behaving differently: a professional inspection. A technician can check spring tension, cable condition, and opener force on the same visit.
Waltham garages take a beating between the snow, the salt spray on the road (though not salt air – we’re far from the coast), and the humidity of a New England summer. A schedule that matches the seasons will catch most failures before they become emergencies. For the repairs that do need a specialist, our Waltham Garage Door Repair Co team focuses on garage doors only, so the diagnostics are quick.
Brand-Specific Notes: Clopay, Amarr, Wayne Dalton, and Others
Garage doors and openers are not interchangeable. A maintenance check that works for a Clopay steel door may miss something on a Wayne Dalton model, and a force-setting adjustment on a LiftMaster opener is not the same as one on a Genie or a Craftsman. Knowing which brand you’re looking at saves time on the inspection and prevents the wrong lubricant or adjustment from being applied to the wrong part.
For Waltham homeowners with a Clopay or Amarr door, pay attention to the bottom seal and hinges – both brands make doors with rubber seals that stiffen noticeably in cold weather. On Wayne Dalton doors, watch the rollers and the track alignment, because a door that’s out of balance on that hardware will bind quickly. On older Craftsman openers, the chain drive needs lubrication more often than a belt-drive unit, and the force setting can drift as the door ages. Genie openers with screw drives need their own specific lubricant, not a general-purpose grease.
We work on your brand. Our technicians are factory-familiar with LiftMaster, Chamberlain, Genie, Clopay, Amarr, Wayne Dalton, Craftsman, and Raynor – eight of the most widely installed residential brands – and we know the difference between a legacy system and a modern smart opener. If you’re not sure what brand your door or opener is, check the manual or the label on the opener housing. That’s a two-minute lookup that saves a lot of guesswork.
Common Mistakes to Avoid
- Using WD-40 on springs and cables. It’s a water-displacing solvent, not a long-term lubricant, and it can attract dust and moisture that accelerate corrosion. A silicone or lithium product on the right parts is a better choice.
- Lubricating the tracks with grease. Grease grabs grit and turns your tracks into a sanding belt for the rollers. Use silicone spray and a rag instead.
- Adjusting the force setting to make the door close. If the door is binding, raising the force setting only masks the problem. Fix the balance, then reset the force to its correct value.
- Skipping the winter inspection because the door “worked fine this summer.” Cold weather reveals problems that warm weather hides. A door that worked in July can fail in January.
- Ignoring a bottom seal that doesn’t touch the floor. In a Waltham winter, a bad seal lets cold air and moisture into the garage and can lead to ice at the threshold.
- Treating a noisy door as a “character” issue. A rattle or a grind usually points to a specific part – a loose hinge, a worn roller, a tired spring. It won’t fix itself.
- Pulling a door down by the handle when the opener fails. That’s not a fix; it’s how doors come off their tracks. Disengage the opener with the manual release and lift the door evenly instead.
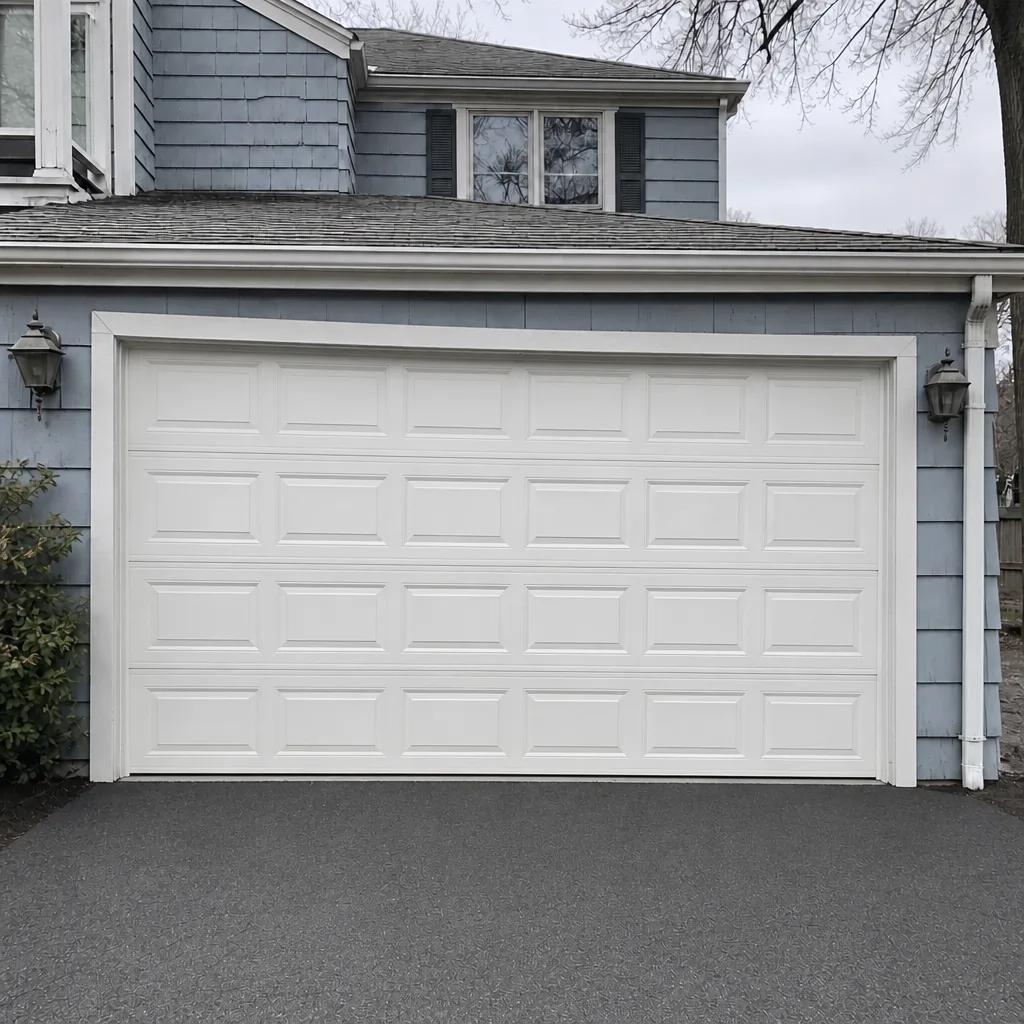
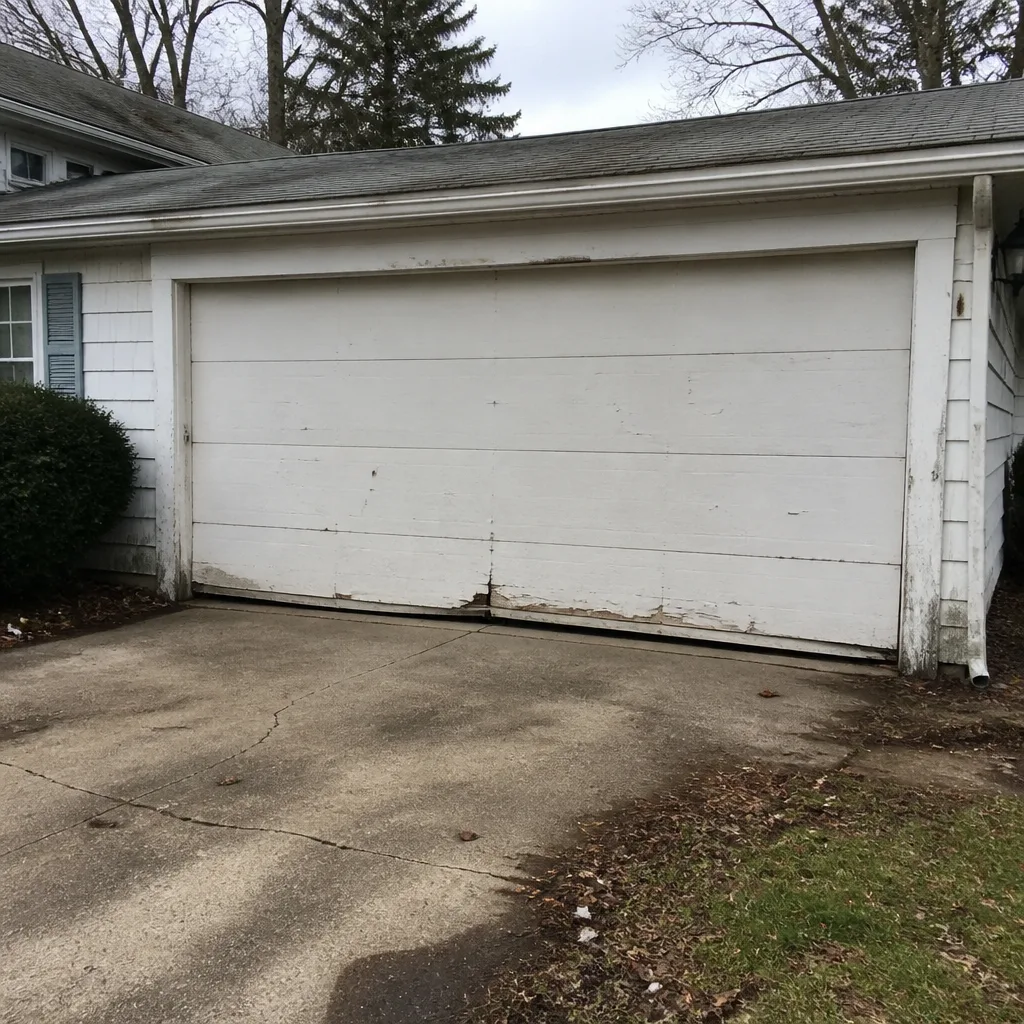
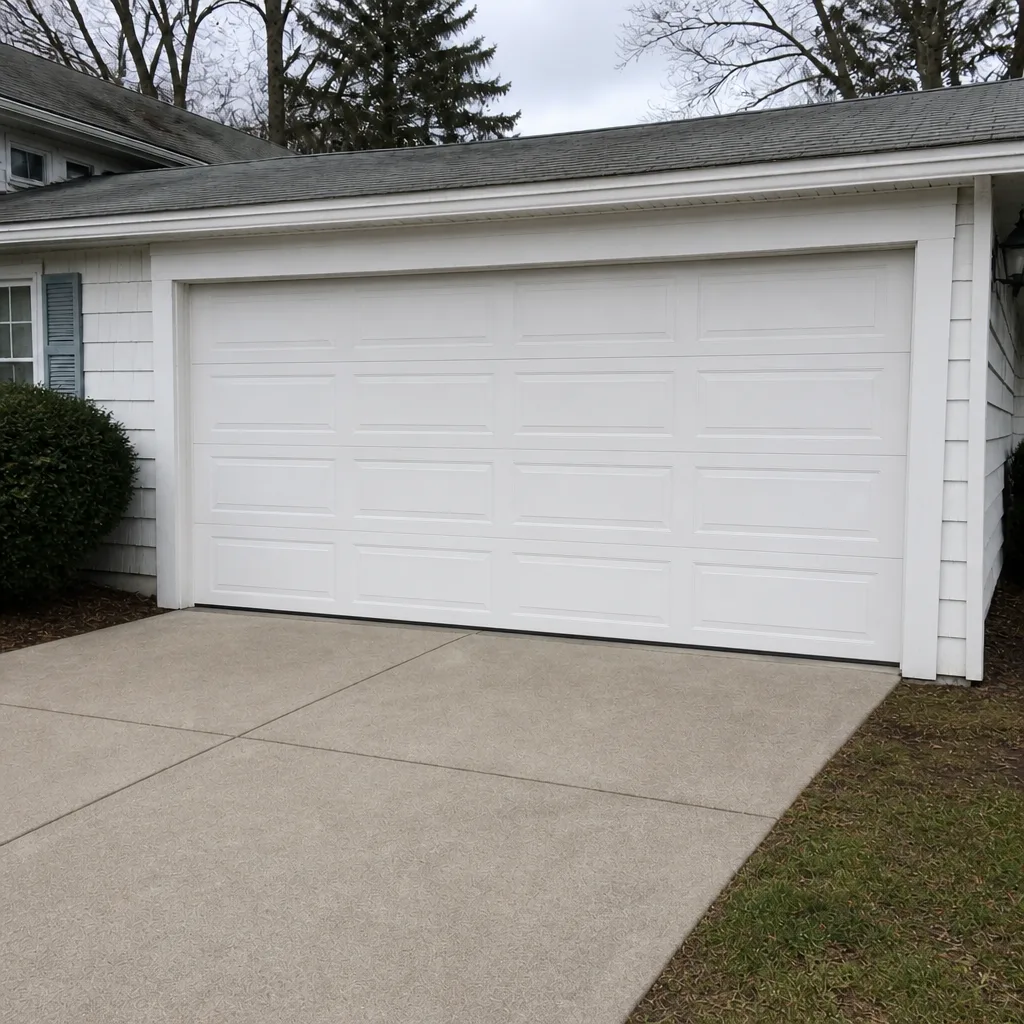
See the difference
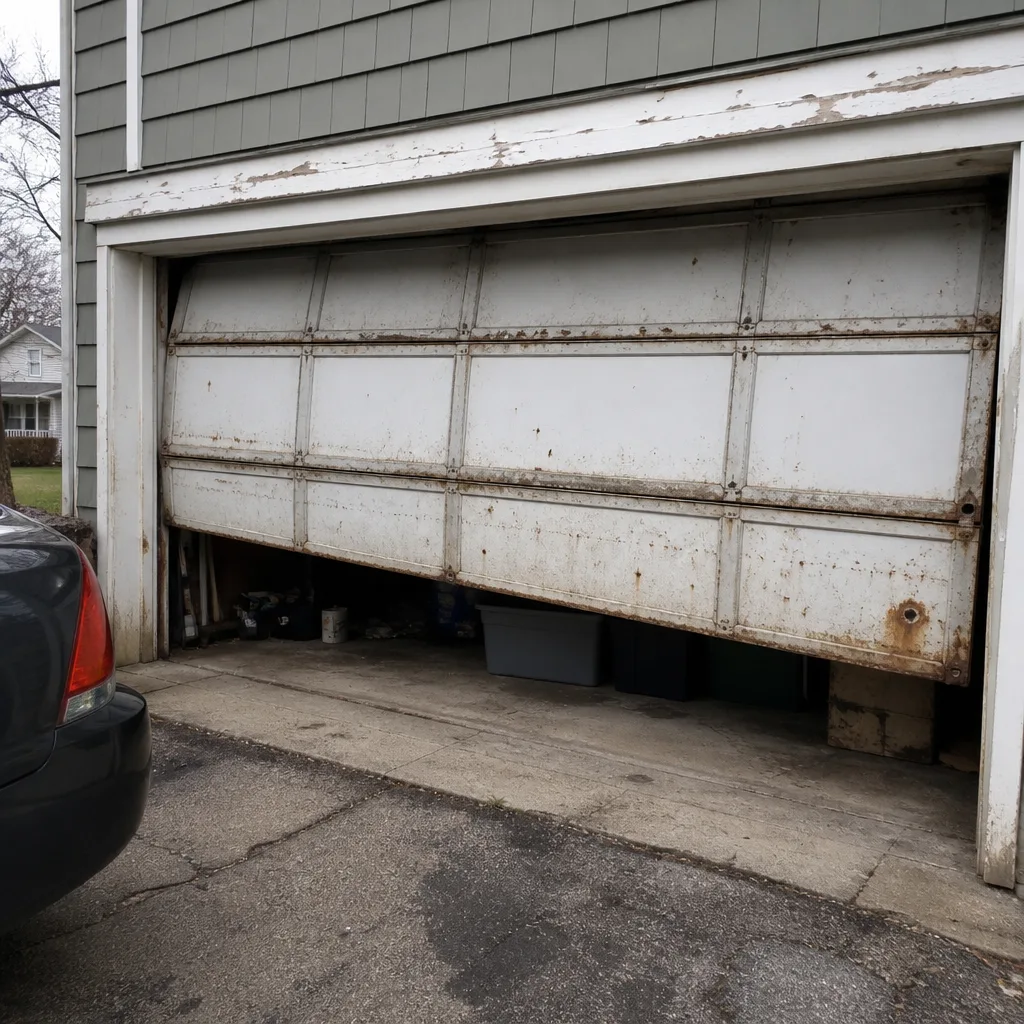 Before
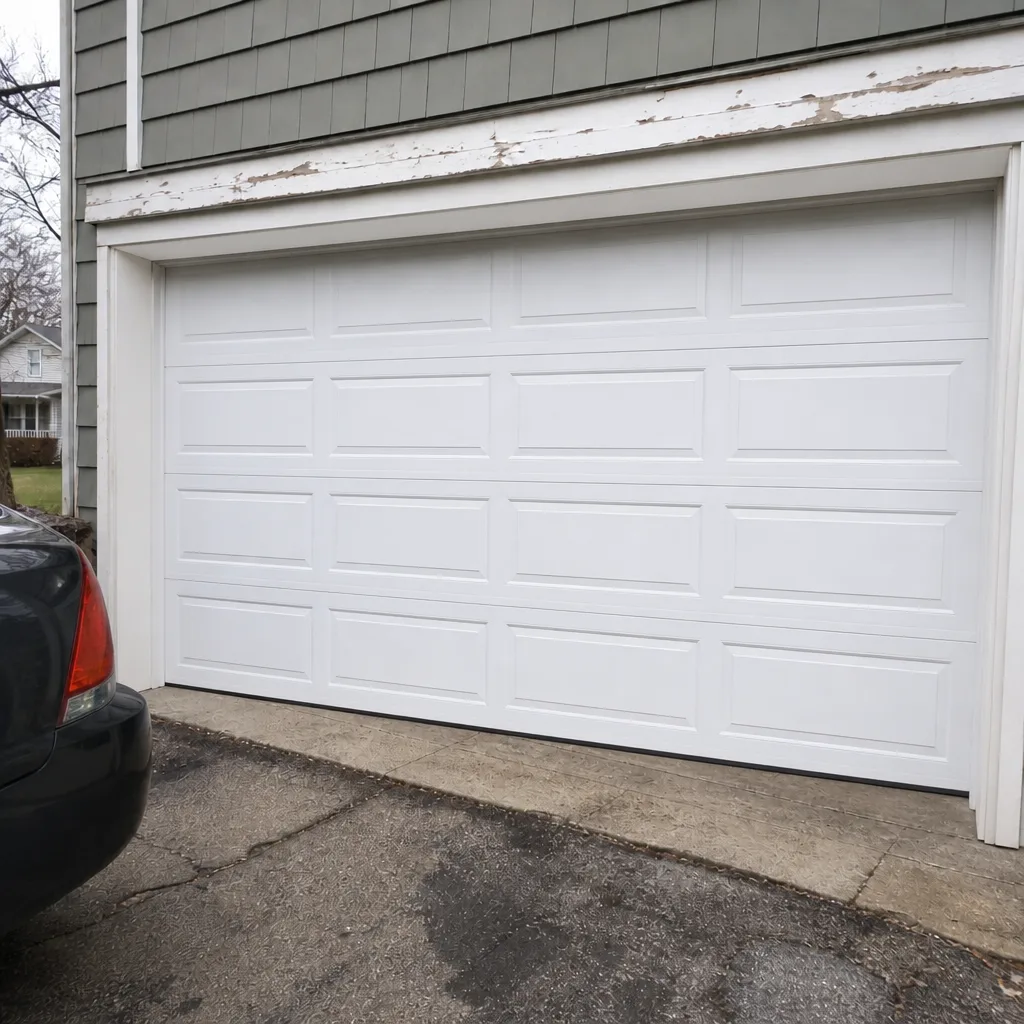 After
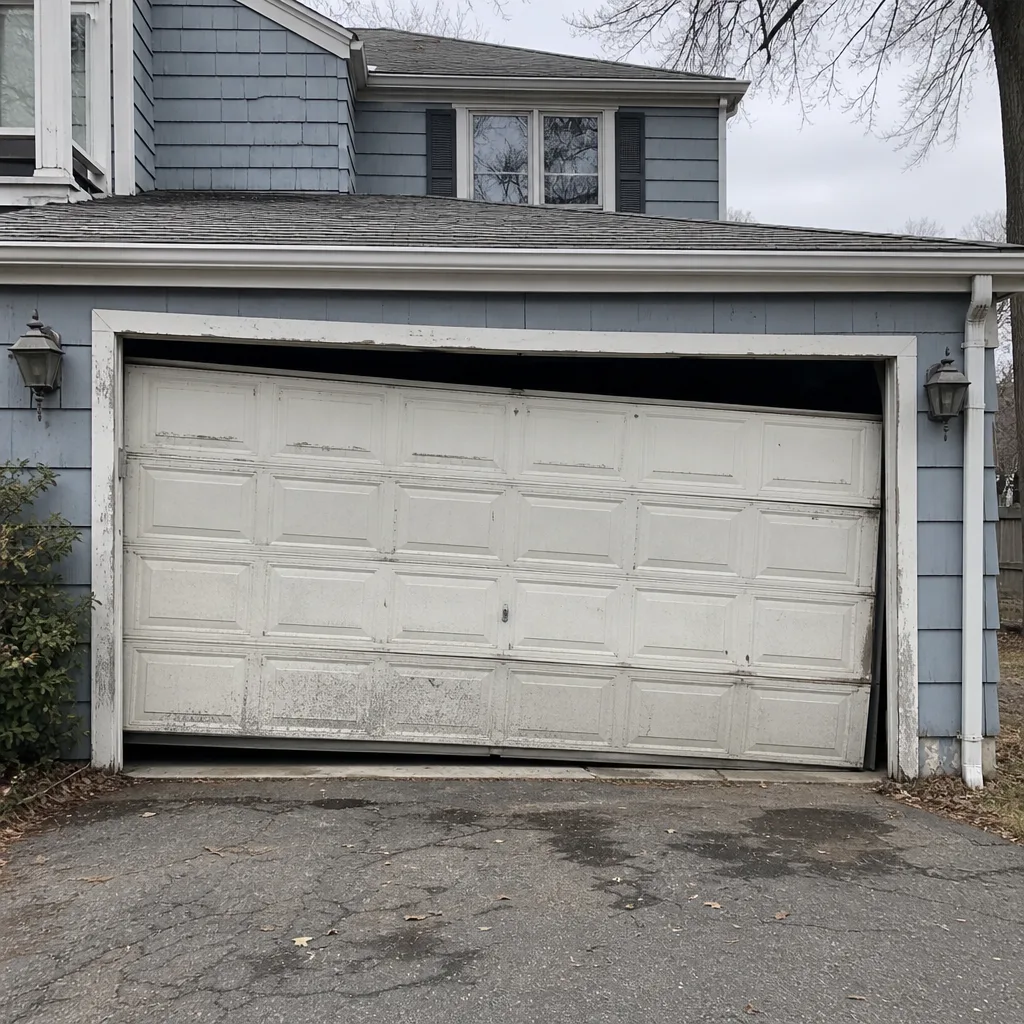 Before
 After
 Before
 After
When to Call a Professional
Some failures are obvious, and some are silent. Call a professional if you see a gap in a torsion spring, a frayed or kinked cable, a door that won’t stay in the halfway position, or a door that slams down harder than it used to. Call if the opener reverses unexpectedly or refuses to close. Call if the door is visibly off its tracks, if you hear a loud bang from the garage, or if any part of the door hardware looks bent. And call if you’re just not sure – a fifteen-minute inspection is cheaper than the alternative. Waltham Garage Door Repair Co offers free estimates in Waltham – call (833) 637-5863. We answer 24/7. Fast dispatch from 7am to 7pm, Sunday through Friday.
Frequently Asked Questions
A checklist should cover the bottom seal, door panels, rollers, hinges, tracks, cables, springs, and the opener, with a cold-weather check before winter. For Waltham, add the seasonal items: seal compression, track contraction, and opener sensitivity drift. Most of the inspection is visual; the spring and cable checks are for a technician.
A quick visual check every month and a full fifteen-minute inspection every season is a good baseline for a Waltham home. The most important one is in October, before the cold weather sets in. Add a professional inspection once a year, or whenever the door starts behaving differently.
No. Springs and cables are under high tension and are not DIY parts. A standard lubricant like WD-40 on a spring can accelerate corrosion rather than prevent it, and the spring itself can injure you if it releases while you’re working near it. Leave springs and cables to a trained technician – a spring inspection takes minutes.
Cold weather thickens grease, hardens rubber seals, and causes metal tracks to contract slightly. Those changes can make a door that worked in summer feel sluggish or bind. Waltham winters make this more noticeable. A pre-winter inspection catches the issues before they turn into a stuck door.
Close the door with the wall button and wave a long object through the photo-eye beam near the floor – the door should reverse immediately. Then place a 2×4 flat under the door as it closes and confirm the door reverses on contact without squeezing the wood. If either test fails, the sensors or force setting need attention.
The local professionals we connect you with are licensed and insured as their state requires. Our technicians have up to 15 years of experience, and the work is quoted and agreed before any repair starts. For an exact quote on your Waltham door, call (833) 637-5863. Estimates are free.
The Bottom Line
A garage door is a system of parts that talk to each other, and most failures give you warnings before they become emergencies. Inspect the door on a schedule that matches the Waltham seasons, lubricate the right parts with the right product, test the auto-reverse correctly, and leave springs, cables, and opener wiring to a trained technician. The difference between a twelve-dollar can of silicone spray and a four-hundred-dollar spring replacement is often one skipped inspection. Our technicians have up to 15 years of experience on the eight major brands we work on, and one call covers the door, the opener, and the springs. Call (833) 637-5863 for a free estimate.
Written by the team at Waltham Garage Door Repair Co.